How to use Google’s NotebookLM to chat with your documents
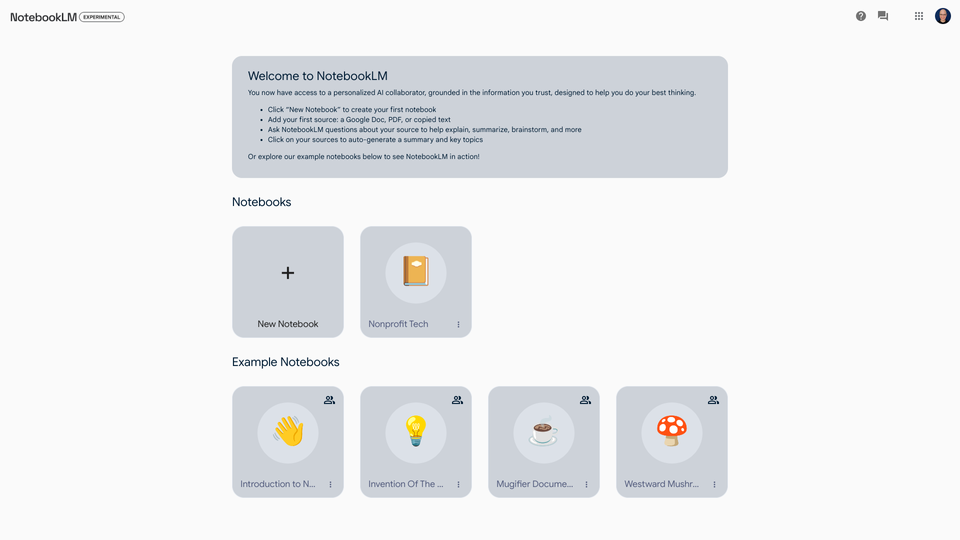
Google’s NotebookLM lets you experiment with an AI chatbot trained on sources you supply. Unlike a generalist chatbot, such as Google Bard, which accesses a wide range of resources, including the internet, NotebookLM serves as a specialist narrowly focused on your documents. Sign in with a Google account to NotebookLM, choose + New Notebook, enter a title and select Save to create your first notebook.
Add up to 20 sources
NotebookLM lets you add up to 20 sources — documents, PDFs or text — of up to 200,000 words each to each notebook. For context, 200,000 words is around one-quarter the length of an English language Bible, or, in modern terms, a little longer than Harry Potter and the Goblet of Fire. A notebook filled with twenty sources of such length can offer a rich repository of information for AI exploration.
You may populate each notebook with content for a particular project. For example:
- A marketing notebook could contain documents such as brand guidelines, market research, customer surveys and promotion schedules;
- An English class notebook may hold novels, short stories, character sketches, author biographies, and literary reviews and critiques;
- A technology notebook could comprise technology assessments, recommendations, project plans, customer contracts, and implementation schedules; or
- A sports notebook might store the most recent rules for popular sports (e.g., baseball, basketball, cricket, football, and soccer, etc.).
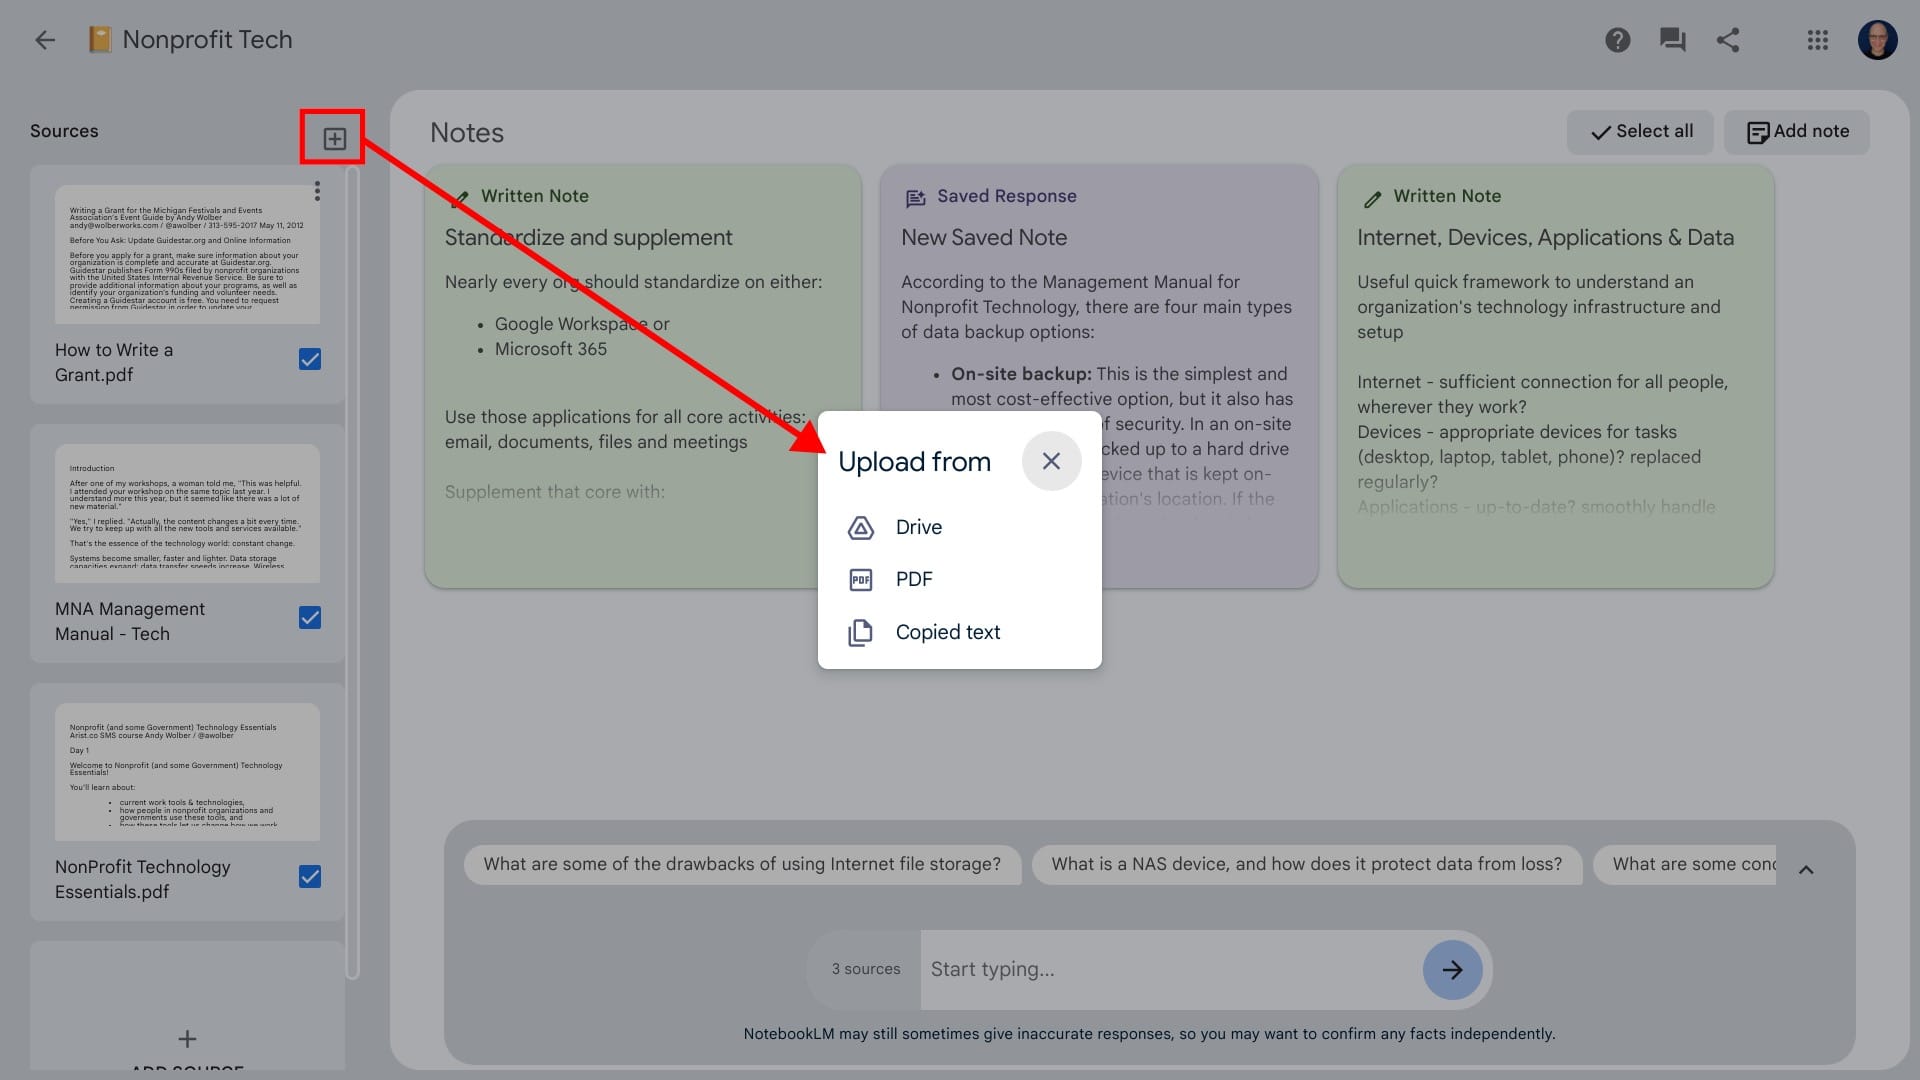
To add a source, select + (in the upper left area), then add a file from Google Drive, upload a PDF or choose Copied text to paste content from another source.
Select sources and prompt
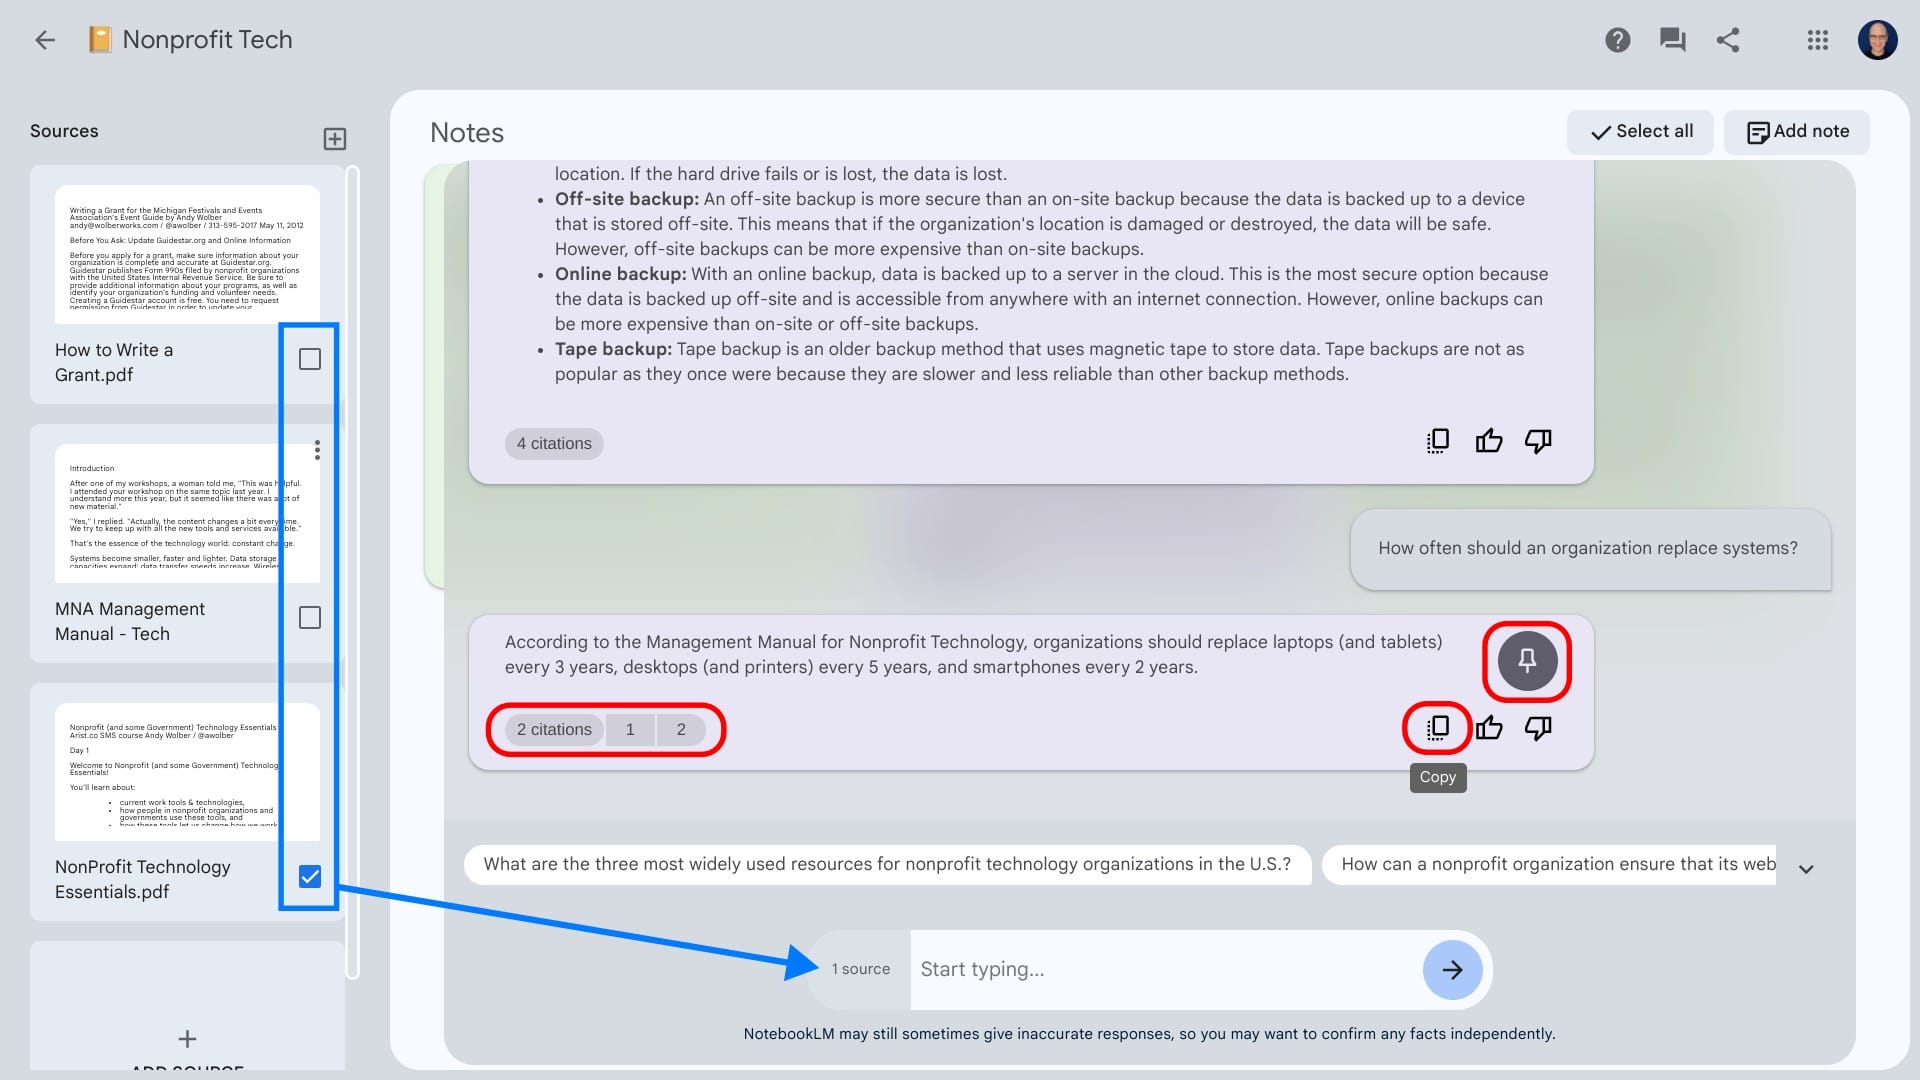
Once you’ve stocked your notebook with sources, you may select which source — or sources — you want the system to refer to when you prompt. Next to the name of each source you want to use, check the box. The number of sources to be queried displays to the left of the prompt box. You must have at least one source selected in order to enter a prompt.
Enter your prompt, then type enter (or return, or select the arrow icon). Often, the system will display possible prompts above the prompt box. You may select any of these for a response, as well. Using the same range of notebooks suggested above, prompts might include:
- Given prior product plans, draft a sample schedule for our upcoming product launch.
- Compare and contrast the use of descriptive language in the selected stories.
- When is the next renewal date for our IT support contract?
- Explain the infield fly rule (baseball) or Tell me how offsides works (soccer)
You might ask NotebookLM to summarize, explain, find details or suggest things relevant to your selected sources. Since this is an experimental system, feel free to try a range of prompts to explore what the system can do. (For those following the technical details of Google’s AI progress, NotebookLM is starting to leverage Google’s Gemini Pro for responses.)
Explore citations, pin responses and add notes
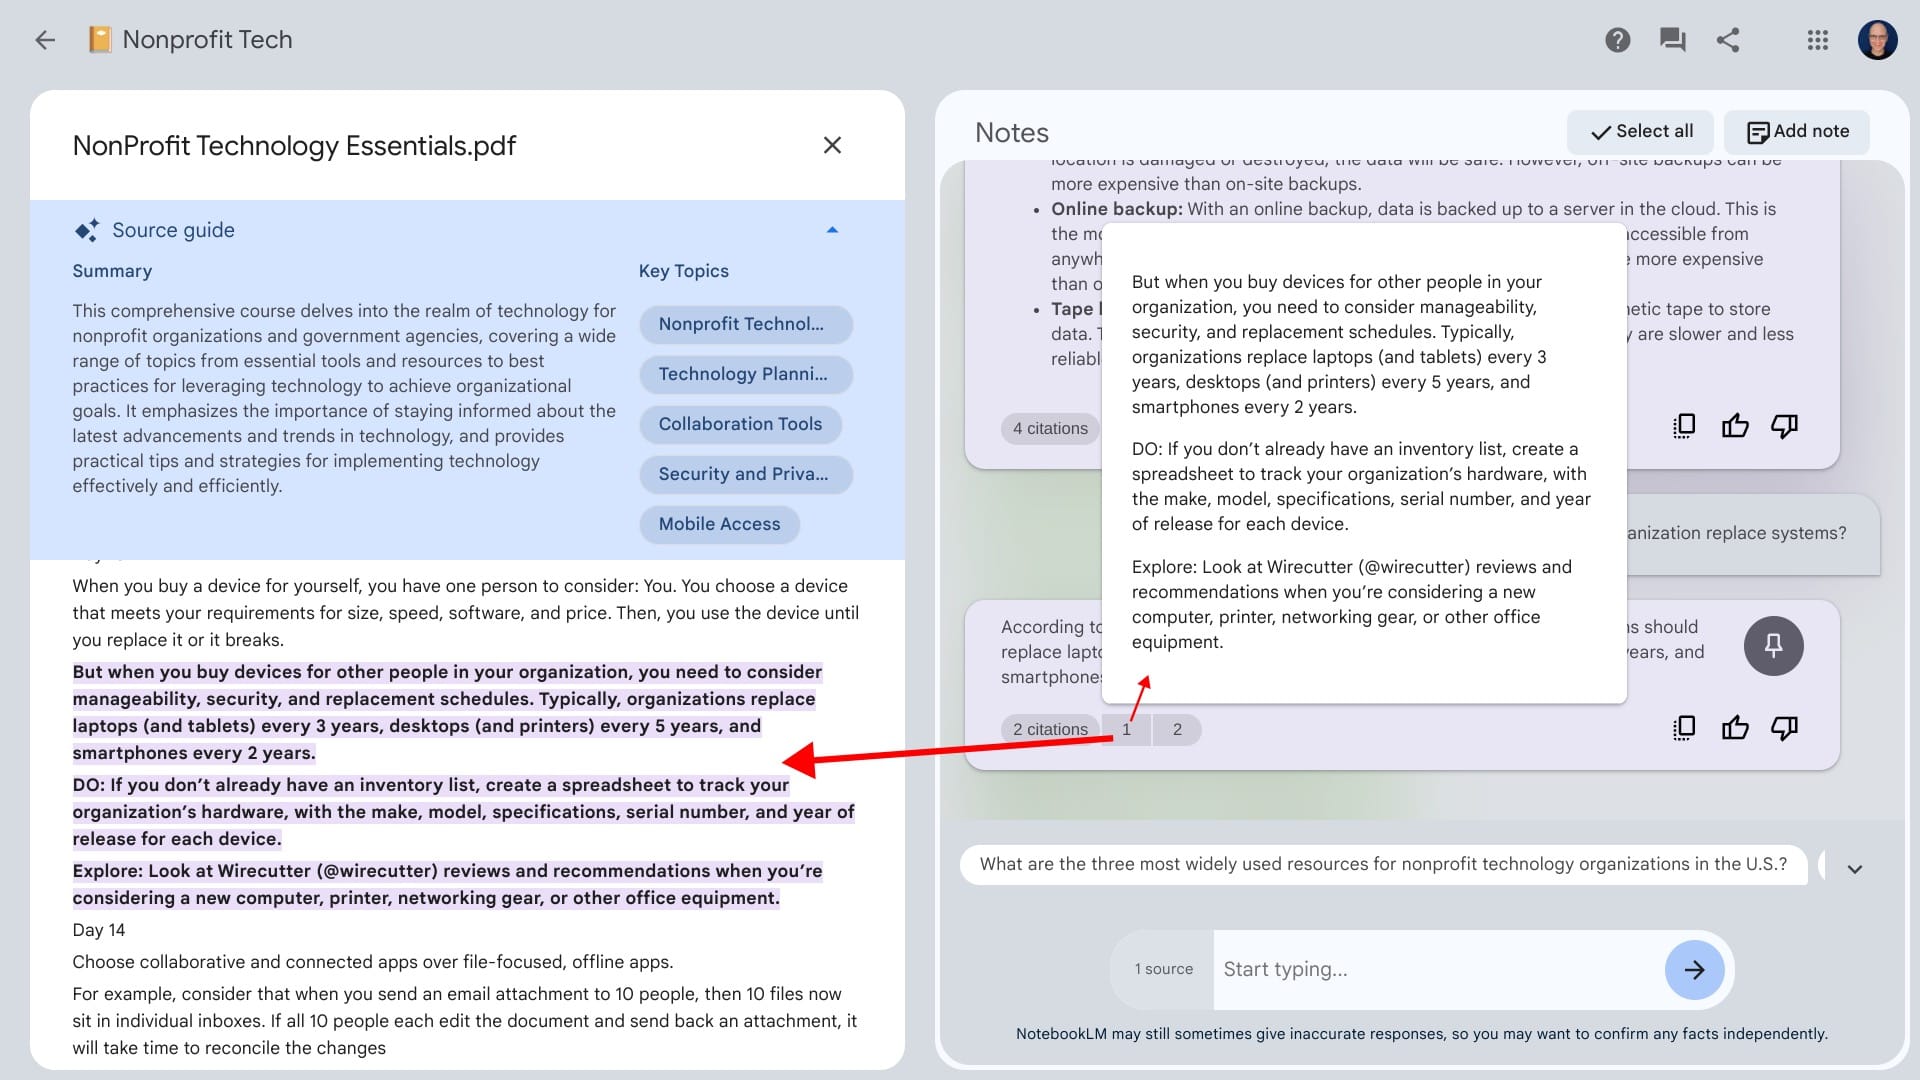
Below each response, NotebookLM shows the number of citations from source files used. Click or tap on the citations button and a series of numbers displays to the right. Place your cursor over a number for a preview of each citation. Select a citation number to display the citation in the context of the source content.
You may save a response as a new note. And while you can’t edit the contents of a pinned response, you can add and edit the title. Without any editing, the response will be saved and titled “New Saved Note”. NotebookLM doesn’t preserve your prompt with each response, so you may want to add elements of your prompt into the title. However, you also could use the title field as a headline to indicate the note contents.
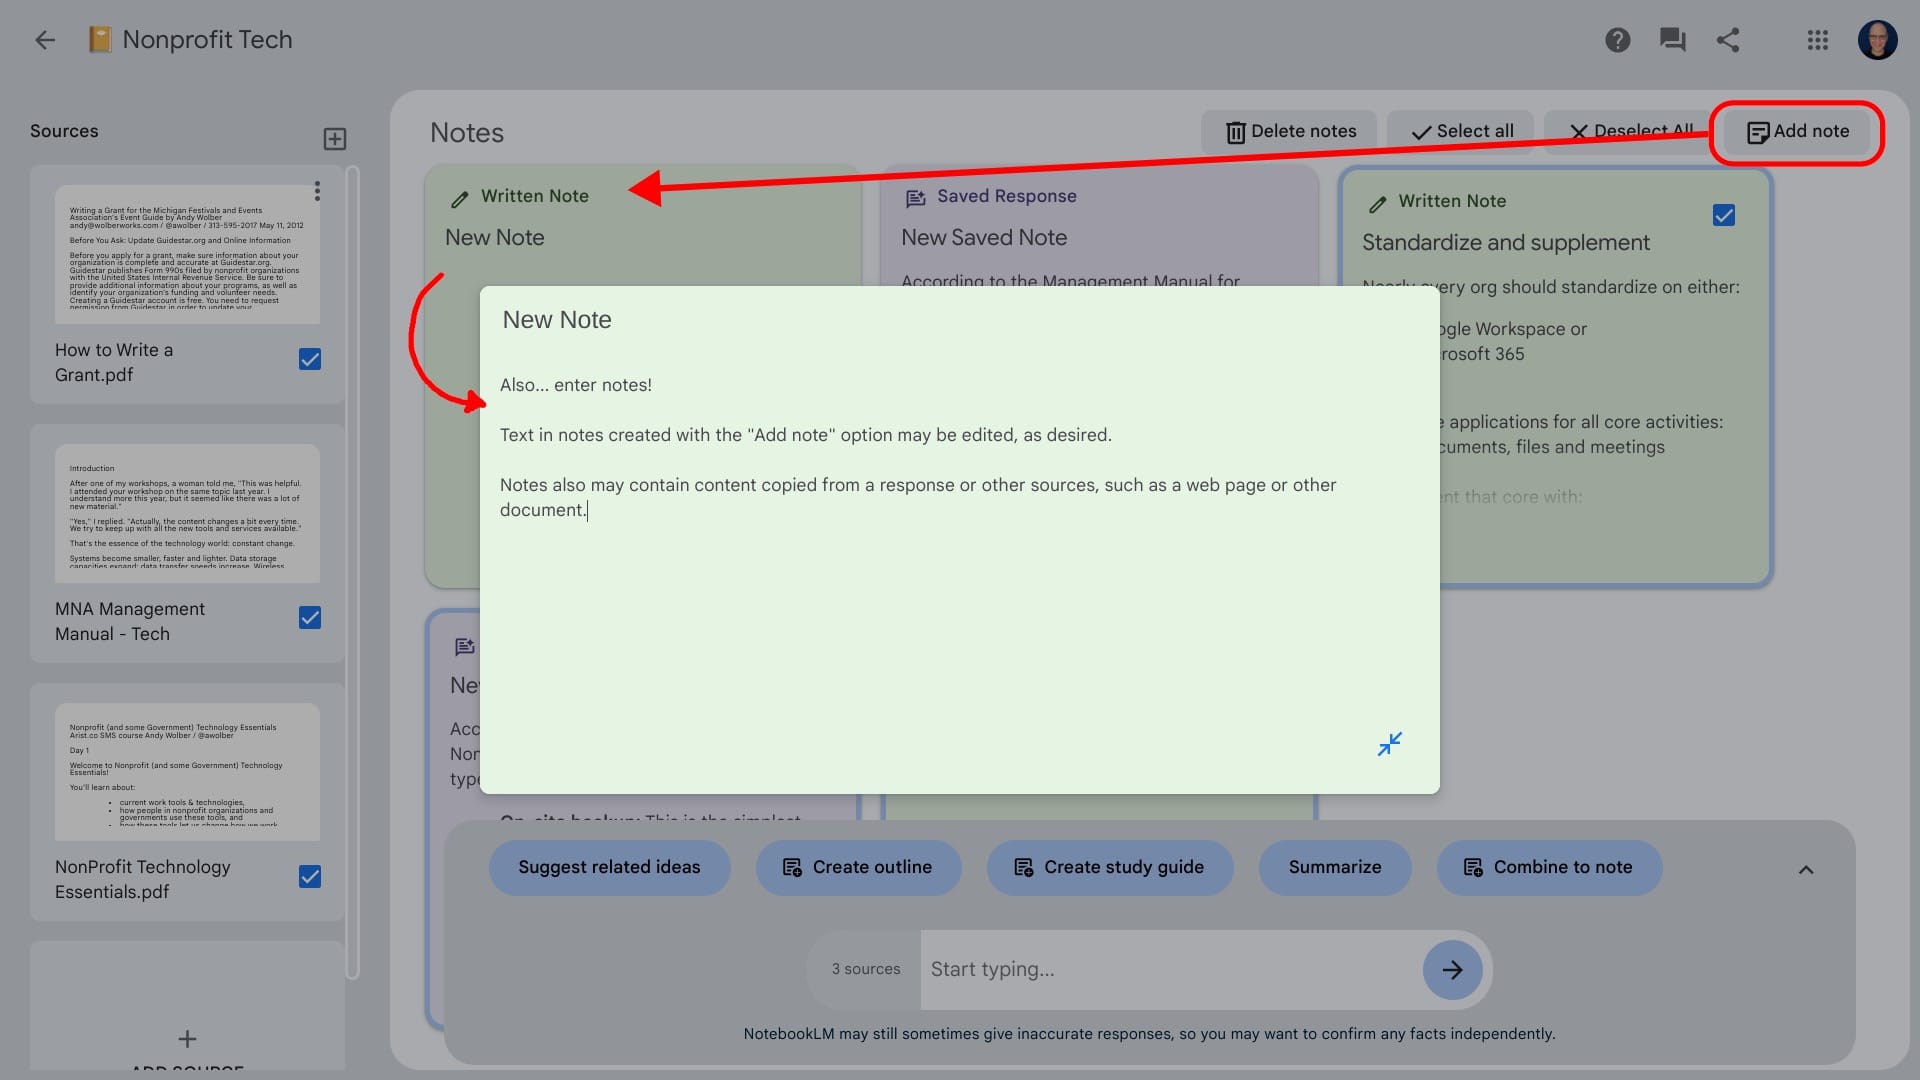
NotebookLM also lets you enter text notes. Select the “Add note” button, then enter your text and a note title. Notes added this way can be edited or revised whenever you wish.
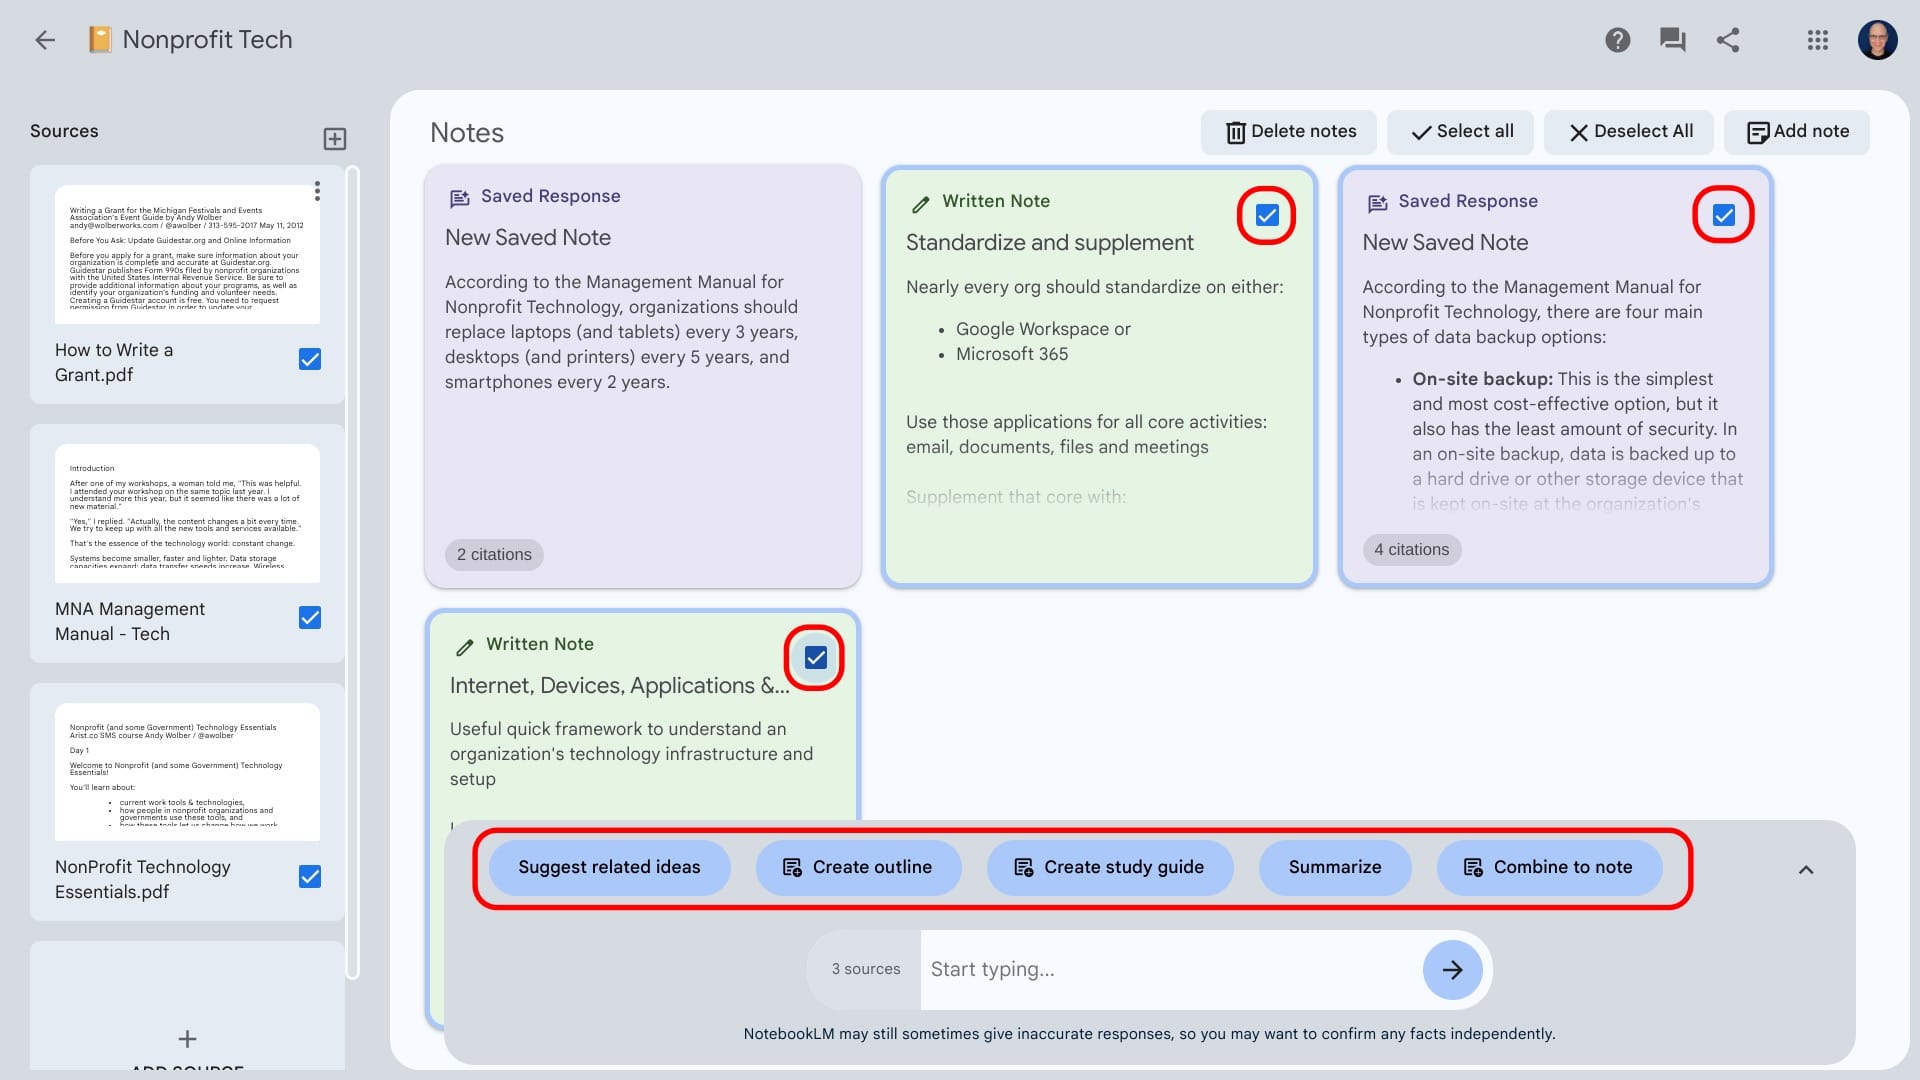
Try note actions
When you select one or more saved responses or written notes NotebookLM offers a few note actions:
- “Help me understand” to explain the contents of notes,
- “Critique” for suggested changes to style, grammar and language,
- “Create outline” to transform notes into a traditional outline,
- “Summarize” to distill the essential points into a new note, or
- “Suggest related ideas” for related concepts to explore.
When you have two or more notes selected a “Combine to note” button also may display. This action button does exactly what it describes: It consolidates the selected notes into a single, longer note. This reduces the number of notes in a notebook — useful to help organize a large collection of notes.
Future directions?
NotebookLM hints at several potential paths for deeper AI integration with other Google Workspace productivity tools. Maybe one day we might:
- Select a set of email, Google Keep notes, or Google Drive files and activate a NotebookLM prompt?
- Save web page content directly to a notebook from a browser?
- Transform selected sources and notes into a draft Google Docs report, with citations, for editing?
- Create a slide presentation from selected sources and notes?
Google’s NotebookLM offers an interesting way to explore what can happen when you link a large language model to a personal set of documents and notes.
Mention or message me on X (@awolber) or Mastodon (@awolber) to let me know how you use NotebookLM!